Super Mario - Building a NES 2.0
It's no secret that here at Arekibo we like our geeky gadgets, but this time we decided to push the concept of "geek" a bit further... After all we like new challenges! Inspiration for this project came out of a link that was sent around to our mailboxes in the past few weeks by a staff member: a full pc was fitted in an old NES. Most of us here are huge fans of the old NES (Nintendo Entertainment System for those who are not familiar with it) and we thought the idea was cool. I've spent countless hours playing amazing games on the NES (on my own or with friends) and I still enjoy playing some of them after nearly 30 years. Some games became real milestones for the gaming industry, and so did the NES: arguably the most recognisable piece of (gaming) hardware sold in the 80s. NES gadgets, collectibles and games are still sold in numbers nowadays. I've been assembling PCs for over 15 years now, so I didn't really lack the experience on that side, but I've always used standard cases to put them together.
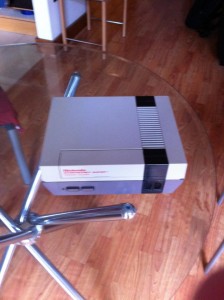
The idea of having a full PC that looked like a NES showcased in the living room was really tempting... so i decided to give it a go! I wanted it to be neat and clean, both inside and outside, so I started researching how other guys on the web approached the problem. After a few hours researching ideas on how to fit it properly I came out with few ideas. Then I started looking on eBay for a used NES, until I finally found one (from Italy). It had a couple of dents, but overall it was good enough to go. A few days of wait and I finally got it delivered:
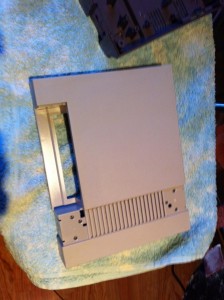
Time to arm myself with sander, dremel, glue gun, screw drivers and... patience! The first step was disassembling the unit, cleaning it and finally sand the dirty parts off:
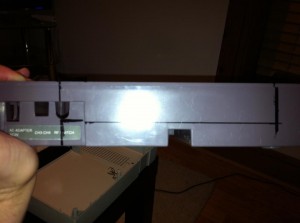
Then it was time to measure the size of the back panel and do the cutting:
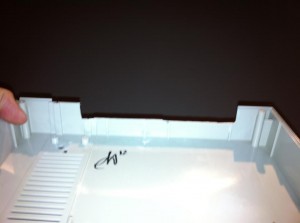
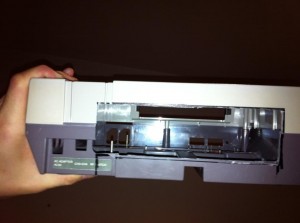
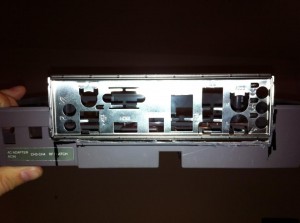
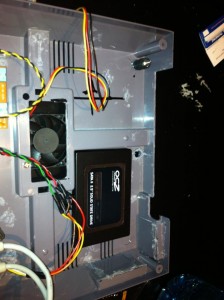
None of the similar projects I've looked at on the web made sure that the internal components like Motherboard and Hard Disk were properly fixed to the chassis. In my experience, fixing the components to the case is hugely important because it seriously limits the damage you can do to the motherboard and helps everything to stay in its place. So I added screws and shock absorbers that would serve as mounting point for the motherboard and the hard disk. Maintaining the original design while ensuring proper cooling for modern components were paramount for this project to succeed. Here you can see the original "Power" and "Reset" buttons, the shock absorbers for the motherboard and the slot for the bottom fan (Kudos to Nintento for making the expansion bay exactly 50mm - the modern fan fits perfectly!)
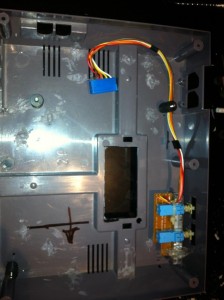
This is not a heavy workload machine and disk space is not fundamental, but the physical size of the hard disk and the temperature are, so for the hard disk I opted for a cheap SSD disk: 50 € for 60GB SSD HDD is an acceptable trade-off... and boot times are really fast as well :) The 2.5" disk was a perfect fit for the case: it would sit under the motherboard and it's fixed with two screws from the bottom.
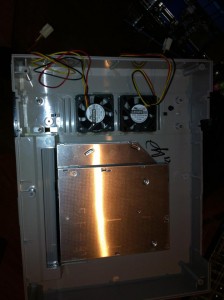
Before putting the whole lot together I still needed to find a way to add the DVD player and to replace the original plugs for the NES controllers. As there is no way to fix the slim DVD player to the chassis using screws from the inside, I finally opted for Velcro. This is stable enough and allows for future replacements in case I were to swap it with a blue-ray (when the prices will go down a bit...). I've also glued two smaller fans to the original air intake that pull air inside the case to get a more ideal airflow.
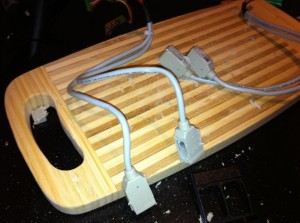
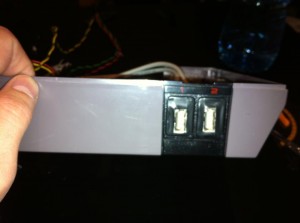
The original NES controllers look as cool as the console itself, but their functions on a modern computer would be too limited, so I finally opted for two USB plugs at the front so that I could plug a more modern gaming pad or other peripherals such as USB keys or a mouse. Yet I wanted it to look as close as possible to the original, and this is the result:
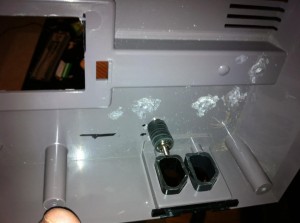
Time to put the pieces together: place the motherboard, connect the cables and do a quick test run to ensure everything is good to go...
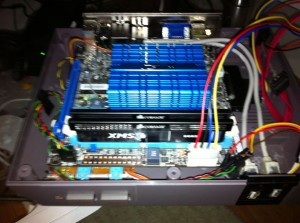
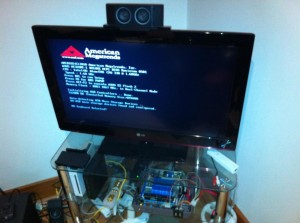
Everything worked like a charm, even the power buttons (which were connected to the original ones) and the LED. Unfortunately I couldn't find a red LED to replace the original one and I had to settle for a yellow one, but overall I'm happy with ow it looks when it's on. After a good 20 hours of work this is the final result: the NES 2.0 HTPC!
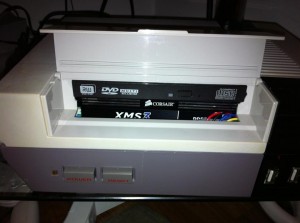
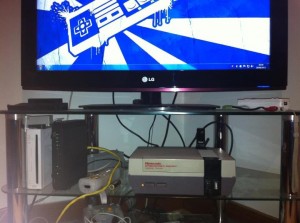
This was an incredibly fun project to work on and the result is quite satisfactory. Also, now I have a NES in my living room again after nearly 20 years and I can watch movies on it (I still can't do that on the Wii...)
Image from Tom Newby. Creative Commons Licence.